Our editorial team independently selects these products. If you choose to buy any, we may earn a commission that helps fund our content. Learn more.
Our cottage’s circa-1973 ugly panelling is begging for a facelift. Sure, we could rip down the panels, install drywall, tape, mud, sand, and paint. But could we skip all that work and make that brown sadness disappear with just paint? Before getting started, I consulted Rory Gaffney, the owner of About Painting in Calgary, about some tricky cottage surfaces.
This article was originally published in the June/July 2025 issue of Cottage Life.
Appliances
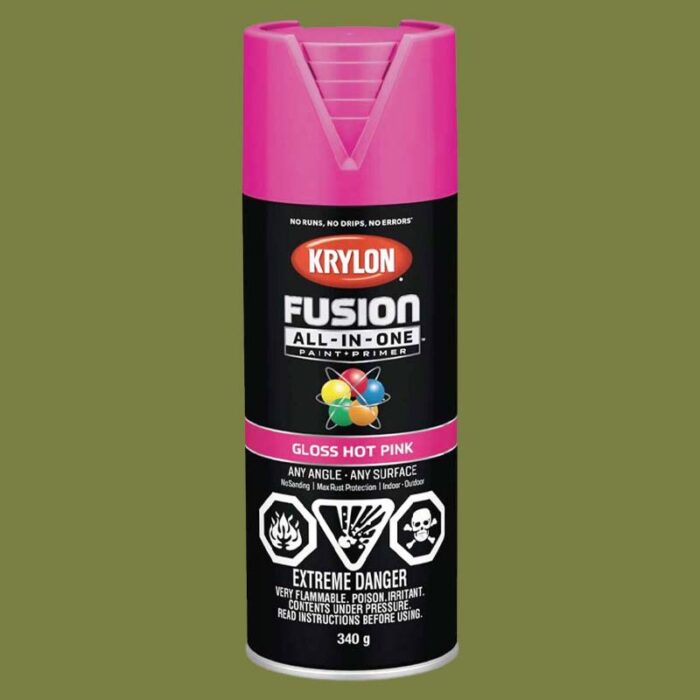
Painting an old white fridge a bold colour or refreshing its yellowed plastic handle is DIYable. After cleaning the surface with dish soap and scuffing it with a fine-grit sanding sponge, use a direct-to-metal spray paint. “Do four or five thin coats, and scuff between coats,” advises Gaffney. The same paint (check the label) may also work on the handle. If not—or if you want a contrasting colour—remove it and paint separately.
 Photo Courtesy Canadian Tire
spray paint Krylon Fusion All-in-One
This is the best product we would suggest for painting over those tricky parts of appliances.
Fireplaces
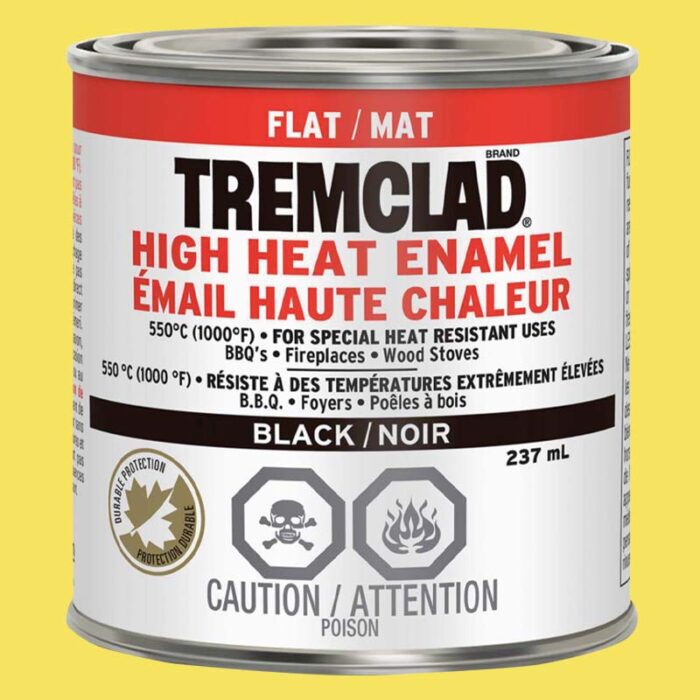
Painting a brick fireplace isn’t easy, but it can be done. The porous surface is hard to prep, says Gaffney, because removing soot—which you must do for paint to adhere—requires scrubbing with dish soap and a stiff brush or using harsh chemicals. As a test, prime a small patch and let it dry overnight. “If it scratches off easily, you’re probably not using the right primer,” he says, or it needs more cleaning. If it’s bonded, finish priming and use heat-resistant paint. However, “once it’s painted, you can’t go back,” Gaffney warns. “And because of expansion and contraction, paint doesn’t typically last well.”
 Photo Courtesy Home Hardware
enamel paint Tremclad High-Heat Enamel
For those tricky fireplace surfaces, you’ll want a tough enamel paint to match.
Fake Panelling
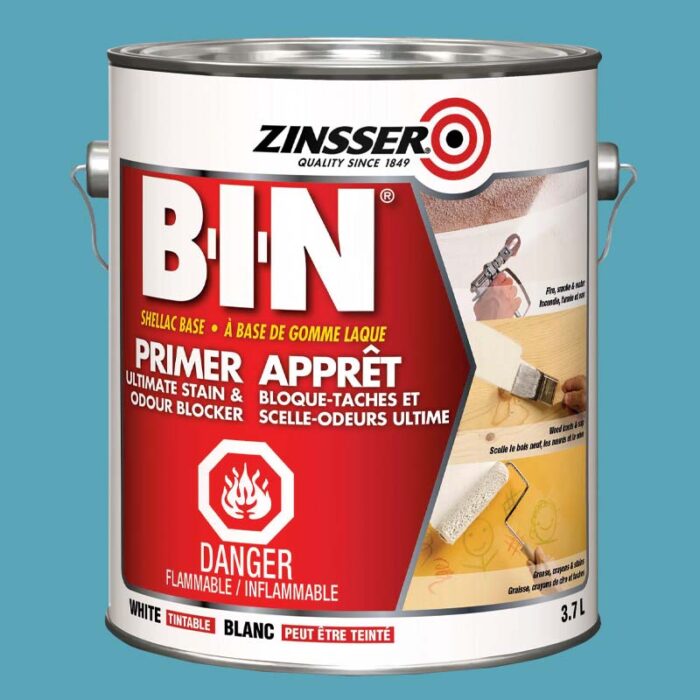
Clean panelling well with hot water and dish soap, suggests Gaffney, to remove built-up dirt. Then, to help paint adhere, “do a light sand with a fine-grit sanding sponge, but don’t sand right through that fake grain.” Scratch-test a small area with heavy-duty primer that contains xylene or shellac, letting it first dry overnight. Following Gaffney’s advice, we cut in the edges with a brush and used a 10 mm roller to apply two coats of latex paint. We also painted right over the dark, fake seams between panels. Presto—the brown sadness disappeared, replaced with serene white joy.
 Photo Courtesy Canadian Tire
primer paint Zinsser Bin Primer
A little primer goes a long way! Here’s a product we recommend for getting this paint job done right.
Touch-up Tips: Paint Pens
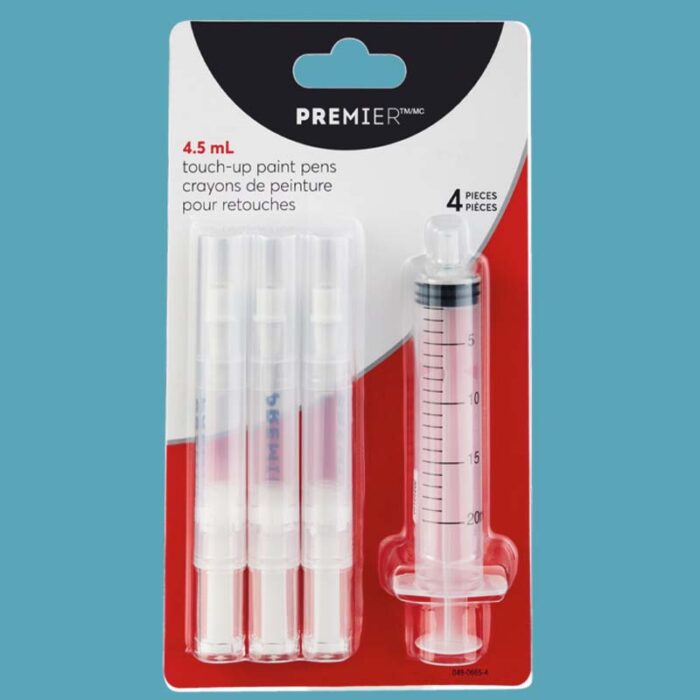
There’s only a brief, blissful period when new paint is unscratched and unblemished. When that ends, syringe some paint into a Premier Touch-Up Paint Pen, add the brush tip, and bring your wall back to Platonic perfection. Then rinse out the pen so you can use it again, because perfection never lasts.
 Photo Courtesy Canadian Tire
paint pen Premier Touch-Up Paint Pen
Patch up rough paint jobs and oopsies with ease.
Related Story How to buy a grill that will last a lifetime
Related Story 4 grill accessories to make your next barbecue night easier
Related Story Shopping for a new grate for your grill? Here are our recommendations